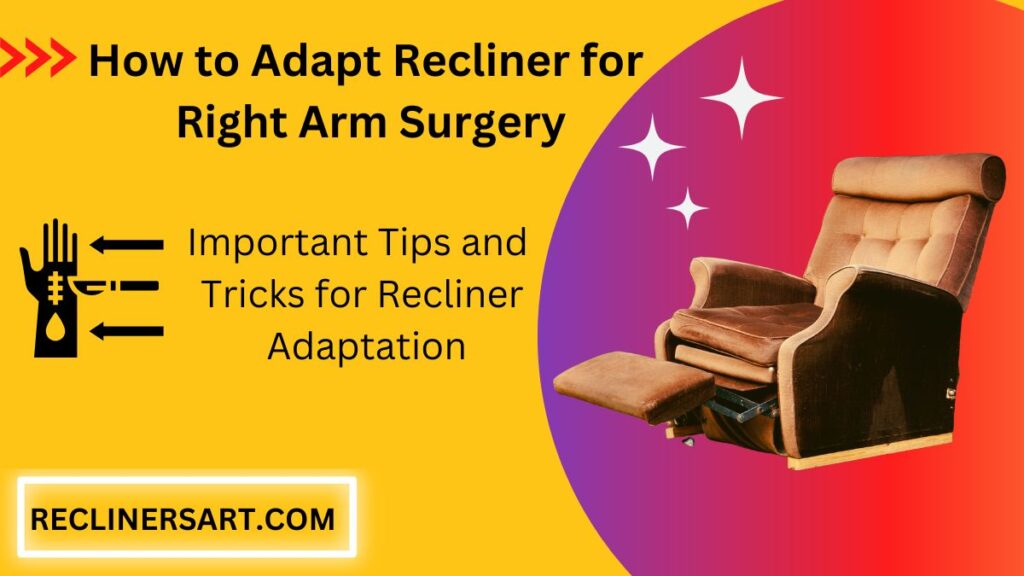
You may also have this query in your mind after having arm surgery: how to adapt recliner for right arm surgery? If you have that thought, you come to the right spot because, in this article, you will find exactly how to adapt the recliner to the left side.
A recliner is one of the most comfortable pieces of furniture, and people use it in many different situations. That includes people who just went through arm surgery but might have an issue controlling the recliner, especially those who went through right arm surgery because most of the recliners have their control on the right side.
For those people, you need to adopt a recliner to use with their left arm. You can make different changes and make it a recliner with left side controls. Below you will find complete details about adapting the manual and power recliner with controls on left side.
How to Adapt Recliner for Right Arm Surgery:
Surgery for the right arm will leave you stranded on your recliner because all of the recliner features are on the right arm’s side. For that, you need to adapt the recliner for your left hand so you can use the recliner properly.
How to Adapt an Electric Recliner for Right Arm Surgery:
Most buttons and functions are on the right side, which is why the adaptation is necessary. For that, you will need some materials and tools. You will require the below items for the adaptation.
• Double-sided tape.
• A Veroboard.
• Some wires.
• Plastic tape.
In the tools section, you will need some tools that are given below:
• Wire stripper.
• Soldering iron.
• Measuring tape.
Related:
Does your Recliner Bad for Your Neck?
Top Rated Recliner Chairs for Shoulder Surgery.
Step 1:
First, you must ensure all the recliner’s power connections are either off or disconnected from the power source. If it has batteries, you also need to remove them because it is necessary for safety.
Now remove the button from the right side armrest. But be gentle with it to not break any switches or wires. Place the button somewhere safe to not lose them because you will need it later.
Step 2:
Now you have to measure the sitting area of your recliner and how lengthy a wire you need to shift the controls from one side to another. Take some wire and cut it the same length as the measuring tape. Don’t cut your teeth; use some proper tools.
Don’t forget to strip off some insulating section of that wire for safety purposes on both sides.
Step 3:
Now take the soldering iron and connect it to the power supply. Once the iron is hot enough, solder one end of that wire, circulatory below that expose button. Also, use different wires to know which one is connected to which one.
Now solder the other end of the wire to Veroboard and make sure not to attach any two different wires with one point.
Step 4:
Now take some extra wires to connect the buttons. Now use some double tape to affix the button on Veroboard on the left armrest after you are done with all connections. Also, take some wire to connect the Veroboard to the batteries.
Now cover the exposed area of wire with tape or plastic. This is to avoid any circuits.
Step 5:
If the Veroboard has some extra portion, cut it with a hacksaw’s help, making it more compact. You can also use a breadboard in place of a Veroboard. You can fix the Veroboard on the left side of the recliner at the recommended height for the user.
Now turn on the power and check it. If it works, it’s okay, but if it doesn’t, turn off the power and check the wire once more.
You can remove the Veroboard when your right arm heals from the surgery and start using it again.
How to Adapt Manual Recliner for Right Arm Surgery:
The manual recliner needs a manual approach to use the reclining features. Due to right arm surgery, you need to move the reclining mechanism from the right side to the left side.
For that process, you will need,
• Duct Tape
• Screws.
• PVC.
• Clothing.
You will also need some tools, which are,
• Scissors.
• Measuring tape.
• Drill Machine.
• Screwdriver.
Step 1:
First, you need to measure the length and height of the armrest so you can later match and cut the PVC to some length.
Now cover the lever of a recliner with the proper length with tape so it can be removed easily whenever it isn’t needed.
Now attach the small length of PVC pipe, which should not extend the armrest extinction.
Step 2:
Now you drill the machine to affix the PVC with nuts and screws. Use the long PVC pipe with that small extension to reach the required height easily. You will also need extra pipe, which can be used on the top of the PVC as a handle. Secure all the attachments with screws and nuts.
Step 3:
After the arrangement is complete, you can rotate the handle to your left side, check it to rotate the lever, and control your reclining and footrest.
Step 4:
Now you can cover the entire PVC pipes with some cloth which doesn’t seem odd in your interior. It would be best if you covered it with a cloth that matches your interior.
Step 5:
You need to keep your body safe, so whenever you use your recliner, you should use the new lever and your body weight to push the recliner back. Use some extra cushion with your right arm so it is always safe and protected.
You can remove all the pipes when your right arms heal after surgery.
Conclusion:
Recliners are designed to give you maximum comfort, but sometimes they can’t because of certain conditions. For that, you have to adapt your recliner and adapting the recliner to your requirements is not that hard if you follow the steps properly.
If you have any questions about how to adapt recliner for right arm surgery, let me know in the comment section, and I will get back to you as soon as possible.

ttmagic Metal Recliner Handle Replacement Parts with Cable, Universal Recliner Sofa Chair Couch Release Lever Pull Handle, Fits Ashley and Major Recliner Brands, Exposed Cable Length 4.9“

Baridwon 2 Set Recliner Replacement Parts, Durable Recliner Release Pull Handle with Recliner Pull Cable, Repair Replacement Parts Compatible with Most Furniture of Recliner Chair Sofa Couch
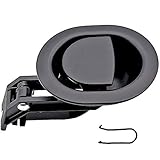
ttmagic Universal Heavy-Duty Metal Sofa Chair Recliner Release Pull Handle Replacement Parts, Fits Ashley, Lazy Boy and Most Recliner Brands, 3.5"L x 3"W x 1.2"H Handle Size
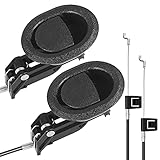
Baridwon Recliner Replacement Parts with Pull Handle and Release Cable (2-Sets), Repair Recliner Mechanism Parts Compatible with Most Furniture of Recliner Sofa Couch Chair
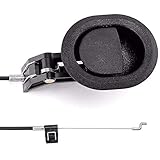
ttmagic Sofa Chair Recliner Release Pull Handle 3" by 3.5" Replacement Parts with Cable, Fits Ashley Lazy Boy and Most Recliner Brands Couch Sofa Chair Furniture, Exposed Cable Length 4.9"