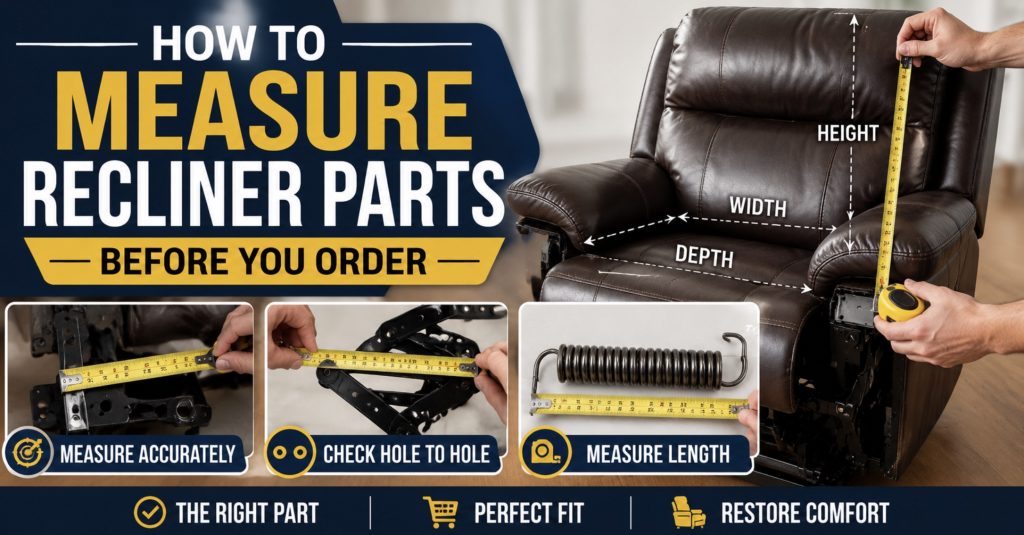
Ordering recliner parts by guessing is one of the easiest ways to waste money. A part can look almost identical online and still be wrong by one plug, one inch, one screw hole, or one spring hook. Measuring first helps you avoid returns, bad fits, and repairs that take twice as long as they should.
This guide walks you through how to measure the most common recliner replacement parts before you order: handles, cables, springs, remotes, power supplies, actuators, switches, bases, and small hardware. The goal is simple—match the part you actually have, not just the part that looks close in a product photo.
- Tools You Need Before Measuring
- What to Check Before Removing the Old Part
- How to Measure Recliner Handles and Cables
- How to Measure Recliner Springs
- How to Measure Power Recliner Parts
- How to Measure Recliner Actuators and Motors
- How to Match Switches and Remotes
- How to Measure Bases, Brackets, and Mechanisms
- Final Ordering Checklist
- FAQ
Tools You Need Before Measuring
You do not need a professional shop to measure recliner parts, but a few basic tools make the job much easier.
- Tape measure: A flexible soft and steel tape measure helps with cables, seat areas, and large frame parts.
- Digital caliper: A digital caliper is useful for spring wire thickness, pin diameter, connector size, bolt spacing, and small brackets.
- Phone camera: Take clear photos before removing anything so you remember cable routing, plug orientation, spring hooks, and screw positions.
- Notebook or notes app: Write down every number as you measure. Do not rely on memory once the part is off the chair.
- Work light: A rechargeable work light makes it easier to see labels, ports, springs, and linkage arms under the recliner.
- Gloves: Thin mechanic gloves protect your hands around sharp frame edges, springs, and metal brackets.
If you are still trying to identify which part failed, the main Recliner Parts & Repairs catalog is a helpful starting point because it groups common recliner parts by type.
What to Check Before Removing the Old Part
Before you unscrew, unplug, or unhook anything, document the original setup.
- Look for labels: Motors, power supplies, remotes, switches, and control boxes often have labels with voltage, model numbers, supplier names, and part codes.
- Take wide photos: Photograph the part in place so you can see how it routes through the recliner.
- Take close-up photos: Capture connector shape, pin count, screw holes, spring hooks, cable ends, and any numbers printed on the part.
- Mark orientation: Use painter’s tape or a marker to show which side faced up, forward, left, or right.
- Check if both sides match: Springs, brackets, and linkages may be mirrored. Compare the good side to the broken side when possible.
- Unplug power recliners: Disconnect the chair from the wall before touching wiring, motors, or connectors underneath.
A lot of wrong orders happen because the buyer removed the old part first, then forgot the exact cable route or plug orientation. Photos prevent that.
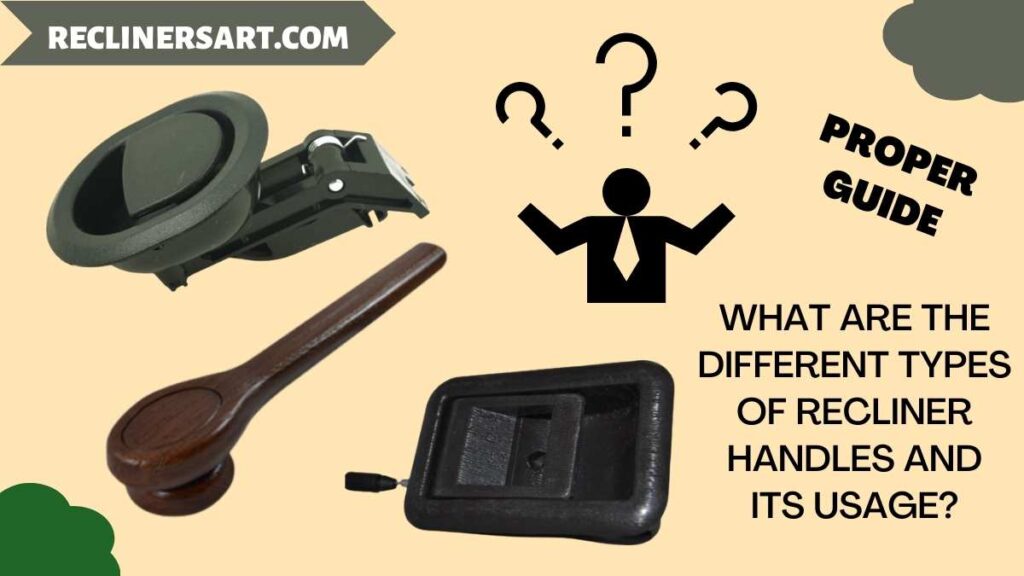
How to Measure Recliner Handles and Cables
Manual recliner cables are one of the most common parts people order incorrectly.
- Measure total cable length: Measure from one end of the outer cable housing to the other, not just the exposed inner wire.
- Measure exposed wire length: This is the distance between the end of the outer sheath and the cable tip or hook. It matters because it controls release travel.
- Match the cable end type: Common ends include barrel ends, S-hooks, loop ends, Z-bends, and small ball ends.
- Measure the handle opening: If replacing the handle too, measure the cutout size in the chair side panel and the screw-hole spacing.
- Check handle direction: Some handles pull upward, some outward, and some are recessed. Do not assume all handles fit the same way.
- Measure screw spacing: Use a tape measure or caliper to measure center-to-center distance between mounting screws.
Good search options include recliner handle with cable kits and recliner release cable replacements, but match the measurements before buying.
If your cable is already broken or disconnected, the guide on recliner handle with cable replacement is a useful companion for understanding how the cable connects to the release mechanism.

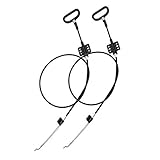
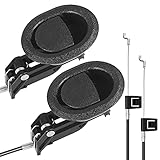
KUANYUOO Universal Heavy-Duty Metal Pull Recliner Handle with Cable (Exposed Adjustable 4.7" to 5.2"), Fits Ashley and Other Manufacturer Brands Chair Release Handle for Sofa or Recliner

ttmagic Metal Recliner Handle Replacement Parts with Cable, Universal Recliner Sofa Chair Couch Release Lever Pull Handle, Fits Ashley and Major Recliner Brands, Exposed Cable Length 4.9“

Baridwon 2 Set Recliner Replacement Parts, Durable Recliner Release Pull Handle with Recliner Pull Cable, Repair Replacement Parts Compatible with Most Furniture of Recliner Chair Sofa Couch
How to Measure Recliner Springs
Recliner springs must match more than just length. Hook style, wire thickness, coil diameter, and tension all matter.
- Measure relaxed length: Measure the spring from hook end to hook end while it is not stretched.
- Measure coil body length: This is the length of the coiled section only, not including hooks.
- Measure outside coil diameter: Use a caliper if possible. This helps match the spring body size.
- Measure wire thickness: Wire gauge affects strength. A spring that looks the same length but uses thinner wire may feel too weak.
- Match hook style: Springs may have long hooks, short hooks, closed loops, open hooks, or offset hooks.
- Compare both sides: If one spring broke, the spring on the other side may give you the best measurement reference.
- Replace in pairs when possible: New spring tension on one side and old weak tension on the other can create uneven movement.
You can search for recliner tension springs, recliner return springs, and spring puller tools once your measurements are ready.
For deeper spring-specific help, see the guide on recliner tension spring replacement.
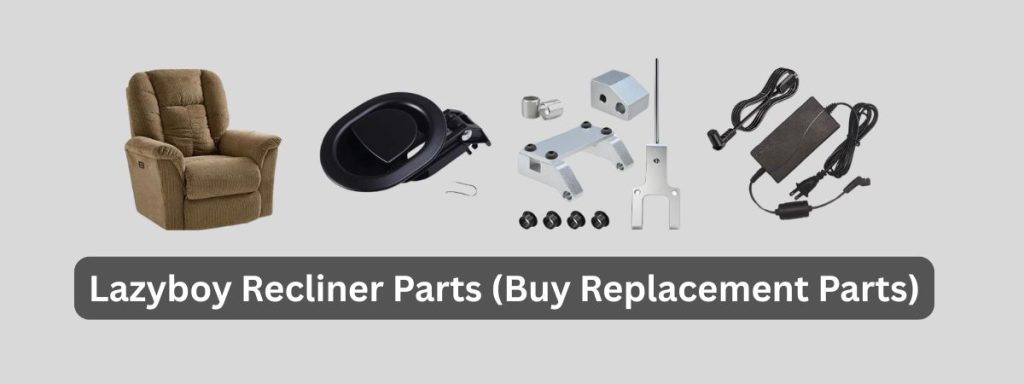
How to Measure Power Recliner Parts
Power recliner parts are less about physical size and more about electrical specs and connector matching.
- Read the power supply label: Look for output voltage, amperage, polarity, and model number. Common recliner systems use 29V, but do not assume without checking.
- Match plug shape: Round barrel plugs, two-pin connectors, flat connectors, and keyed plugs are not automatically interchangeable.
- Check polarity: If the power supply uses a barrel connector, polarity matters. Wrong polarity can damage electronics.
- Match amperage equal or higher: Voltage must match exactly. Amperage should meet or exceed the original rating, not fall below it.
- Measure cable reach: Make sure the replacement power cord or transformer lead is long enough to reach the control box without tension.
- Check battery backup compatibility: Some systems use emergency battery packs or inline backup boxes that must match the plug type.
Common searches include 29V recliner power supplies, power recliner battery backups, and power recliner extension cables.

Power Recliner Power Supply, Sopito 2-Pin AC/DC Adapter 100-240V 50/60hz

Power Recliner Power Supply, AC/DC Switching Power Supply Transformer 2-pin 29V/24V 2A Adapter with AC Power Cord for Electric Power Recliner Lift Chair

Power Recliner ZBPOWER Wall Power Supply ZB-H290020A-C 29V 2A Adapter
How to Measure Recliner Actuators and Motors
Actuators are one of the most important parts to measure carefully because the wrong stroke length or mounting size can stop the chair from moving correctly.
- Record the actuator label: Write down the brand, model number, voltage, load rating, speed, and stroke length if listed.
- Measure retracted length: Measure from mounting-hole center to mounting-hole center when the actuator is fully retracted.
- Measure extended length: If possible, measure the same mounting-hole center distance when fully extended.
- Calculate stroke length: Stroke length is the difference between extended length and retracted length.
- Measure mounting pin diameter: Use a caliper to measure the clevis pin or bolt diameter.
- Measure clevis width: The bracket opening must fit the chair’s mounting tab.
- Match connector style: A motor can be the right size but still fail to connect to the control box if the plug is wrong.
- Check speed and load rating: A weak actuator may move at first but strain, stop, or fail early under body weight and mechanism load.
If you are shopping, start with recliner actuator motors and compare every spec before buying.
How to Match Switches and Remotes
Remote and switch compatibility depends on pin count, plug style, button functions, and control-box compatibility.
- Count the pins: Common remotes may use 2-pin, 5-pin, 6-pin, 8-pin, or other connectors. Count carefully.
- Check plug shape: Round plugs, phone-style plugs, and rectangular plugs may look similar in product photos but fit differently.
- Match button functions: A simple up/down remote is different from one with headrest, lumbar, heat, massage, USB, home, or memory buttons.
- Check wire length: The replacement remote cord needs enough reach for normal use without pulling on the control box.
- Compare labels: If the original remote has a model number, search that number first.
- Check mounting cutout: For side-panel switches, measure the rectangular or oval cutout and screw spacing.
Useful searches include power recliner remote replacements, recliner switch replacements, and 5-pin recliner remotes.
How to Measure Bases, Brackets, and Mechanisms
Metal recliner parts are less forgiving than small electrical accessories. Bolt spacing and geometry must match closely.
- Measure bolt-hole spacing: Measure center-to-center distance between holes, not edge-to-edge.
- Measure bracket thickness: Thicker or thinner metal can change fit or strength.
- Measure overall width and depth: Bases and swivel plates need enough clearance under the chair.
- Check hole pattern: Square, rectangular, offset, and diagonal patterns are not interchangeable.
- Measure height: A replacement base that changes seat height can affect comfort and stability.
- Check left/right orientation: Linkage arms and brackets may be side-specific.
- Compare movement path: If replacing a mechanism, make sure the footrest and backrest travel pattern is the same.
For these parts, OEM or brand-specific replacements are often safer than universal parts unless the seller provides detailed dimensions.
Final Ordering Checklist
Before you click buy, confirm every item below.
- Part type: Handle, cable, spring, actuator, power supply, remote, switch, base, bracket, or mechanism.
- Model number: From the old part label or recliner frame tag, if available.
- Measurements: Length, width, diameter, screw spacing, stroke length, wire gauge, or cutout size depending on part.
- Connector: Plug shape, pin count, polarity, and cable reach for electrical parts.
- Mounting: Screw holes, bracket orientation, clevis width, and pin diameter for mechanical parts.
- Function count: Number of buttons, motors, or adjustment features for remotes and switches.
- Return policy: Choose return-friendly listings when buying universal parts.
- Photos saved: Keep before-removal photos until the new part is installed and tested.
If your chair is stuck open and you are measuring parts because the mechanism jammed, the guide on recliner stuck open common causes and repairs can help you confirm whether you are measuring the correct failed component.
- Digital calipers – best for spring wire, pin diameter, plug size, and screw spacing.
- Soft and steel tape measures – useful for cables, upholstery, and larger frame dimensions.
- Recliner handle with cable kits – measure total cable length and exposed wire before buying.
- Recliner tension springs – match length, hook style, coil diameter, and wire thickness.
- 29V recliner power supplies – confirm voltage, amperage, plug type, and polarity.
- Recliner actuator motors – compare stroke length, mounting holes, connector style, and load rating.
FAQ: Measuring Recliner Parts Before Ordering
Can I order a recliner part just by brand name?
Usually not safely. Many brands use different suppliers and part versions across different years and models. Always measure and compare labels.
What measurement matters most for recliner cables?
Total cable length and exposed inner wire length are both important. The end fitting style also has to match.
What measurement matters most for springs?
Length, wire thickness, coil diameter, and hook style. Strength matters too, so replacing springs in pairs is often smarter.
Can I use a power supply with higher amperage?
Usually yes if voltage and polarity match exactly, but do not use lower amperage than the original. Always match the original specs as closely as possible.
Why does my replacement remote plug fit but still not work?
Pin layout and control-box compatibility may be different even when the physical plug fits. Button functions and wiring order matter.
Should I remove the old part before ordering?
Sometimes yes, but take photos first. If the part has a visible label or can be measured in place, document that before removing it.
Conclusion
Measuring recliner parts before you order is the difference between a quick repair and a frustrating return. Check labels, photograph the original setup, measure the right dimensions, and compare connectors carefully. Whether you are replacing a cable, spring, remote, power supply, actuator, or base, the best part is not the one that looks close—it is the one that matches
ttmagic Metal Recliner Handle Replacement Parts with Cable, Universal Recliner Sofa Chair Couch Release Lever Pull Handle, Fits Ashley and Major Recliner Brands, Exposed Cable Length 4.9“
Baridwon Recliner Replacement Parts with Pull Handle and Release Cable (2-Sets), Repair Recliner Mechanism Parts Compatible with Most Furniture of Recliner Sofa Couch Chair
Baridwon 2 Set Recliner Replacement Parts, Durable Recliner Release Pull Handle with Recliner Pull Cable, Repair Replacement Parts Compatible with Most Furniture of Recliner Chair Sofa Couch
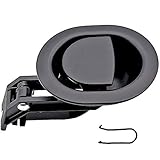
ttmagic Universal Heavy-Duty Metal Sofa Chair Recliner Release Pull Handle Replacement Parts, Fits Ashley, Lazy Boy and Most Recliner Brands, 3.5"L x 3"W x 1.2"H Handle Size

Baridwon 2 Sets Recliner Replacement Parts - Metal Recliner Handle, Release Pull Cable Fits Ashley & Most Recliner Sofas, Exposed Cable Length 5.1 Inches