This catalog brings the most common recliner replacement parts into one place—handles, release cables, motors, power supplies, bases, cushions, and more. Each row includes a short description plus one-click Amazon and eBay searches so you can quickly find compatible options. Below the recliner parts list, you’ll also find a quick repair guide for common issues and a table of brands worldwide with links to parts/repair guides and/or how to contact customer service.


How to choose the right part
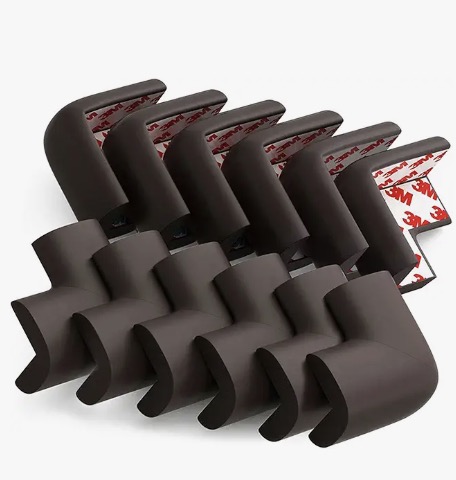
- Match the part type & shape: D-ring/“parachute” handle vs flapper/paddle vs outside lever, cup holder size, etc.
- Measure carefully: Cable overall length and exposed wire; actuator stroke; handle bezel and screw spacing; bolt patterns on bases.
- Check connectors & voltage (power models): Most transformers are 24–29 V DC. Verify 2-pin (flat or round) power plugs and 5-pin DIN/RJ control plugs.
- Note brand/labels: Common power brands include Okin, Kaidi, Limoss—copy model numbers from stickers before removing parts.
- Compare left/right orientation: Some levers, arms, or brackets are handed (L/R).
- When in doubt, photograph: Take pics of routing and hardware so re-assembly is easy.
Tools that help
Tape measure, Phillips/flat screwdrivers, needle-nose pliers, socket set, hex keys, e-clip tool, and a small parts tray. A drop of medium threadlocker on bolts can prevent loosening after repair.
Safety & installation tips
- Unplug power recliners before working; avoid pinch points in the mechanism.
- Support the chair safely if you flip it over; protect floors with a blanket or cardboard.
- Test movement slowly after replacement and re-check clearances before full use.
Note: Product listings vary by model and manufacturer. Always confirm dimensions, connectors, and ratings against your original part.
Recliner Repairs Quick Guide
This step-by-step guide covers the most common recliner problems—manual, power, rocker, swivel, and lift—and shows you how to diagnose and fix them safely. Where helpful, we’ve linked key terms directly to Amazon searches so you can quickly locate compatible parts.
Safety & Preparation
- Unplug power recliners before any work. Wait 2–3 minutes for capacitors to discharge.
- Turn the chair over safely onto a blanket or cardboard; protect floors and support the frame.
- Photograph cable routing, connectors, and hardware before removal—your best reassembly guide.
- Label connectors (tape/sharpie) and keep small hardware in a parts tray or cup.
- Measure twice: screw spacing, cable lengths, spring sizes, connector types, and bolt patterns.
- Check warranty if the chair is < 1–2 years old; parts may be covered.
Fast Diagnosis Checklist
- Handle moves but nothing happens? Likely a broken cable or linkage. See release cable and linkage pins.
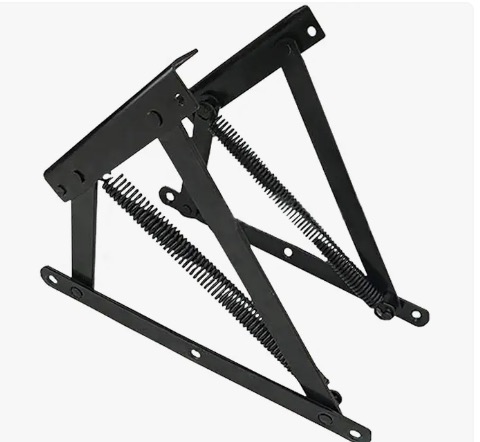
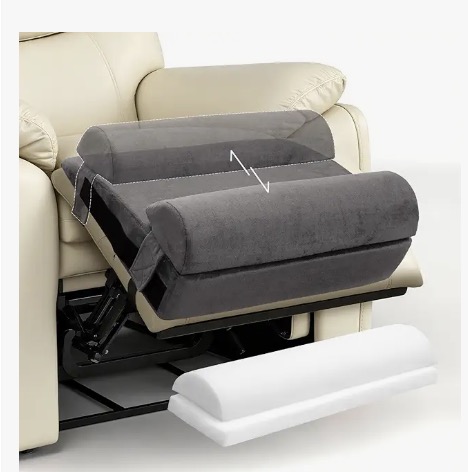
- Footrest won’t stay up / drops: Worn pawl/ratchet or tired springs.
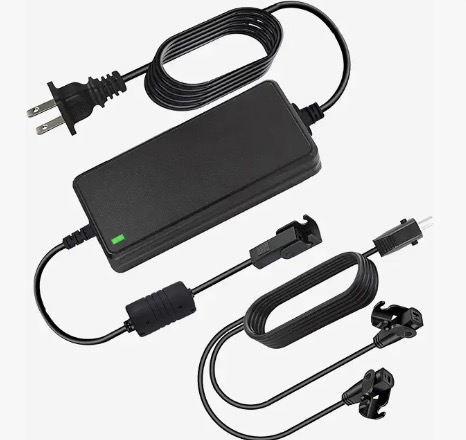
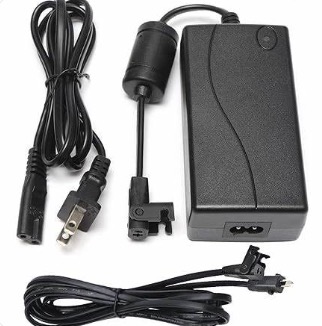
- No power / clicks only: Check the power supply (29V, 2-pin), then actuator and control box.
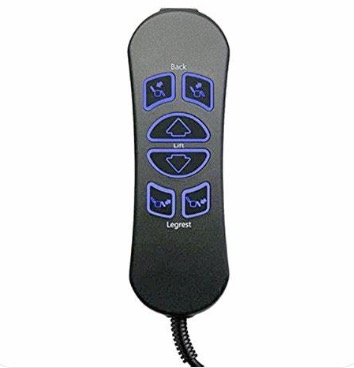
- Moves one way but not the other: Suspect the handset/remote or wiring harness.
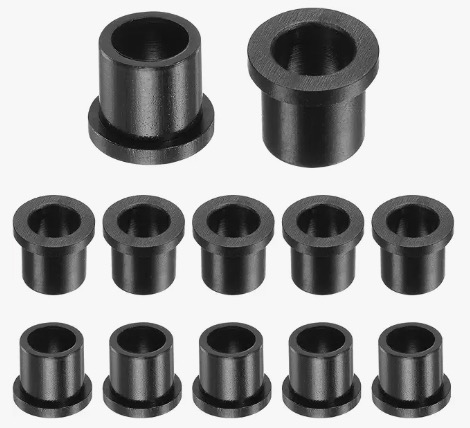
- Chair squeaks / wobbles: Replace worn bushings/washers and tighten hardware; inspect swivel plate and glider track.
- Seat sags: Refresh seat foam, add webbing or replace zig-zag springs.
Manual Recliner Fixes (Handles, Cables, Springs)
1) Handle or Pull Broke
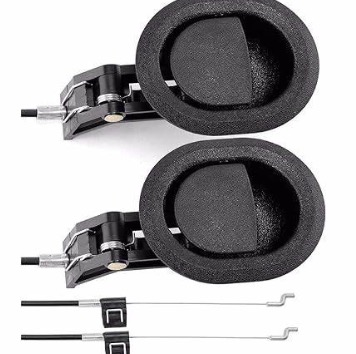
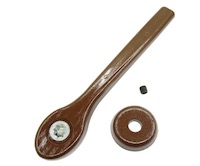
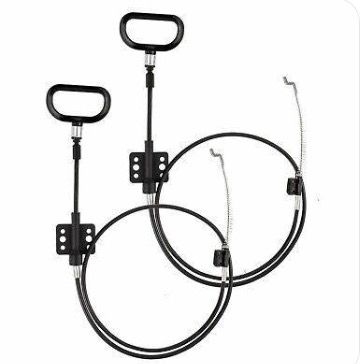
Identify your release style: inside D-ring/parachute handle, side flapper/paddle handle, or external lever handle. Match bezel shape, finish, and screw spacing.
- Remove old handle (hold screws firmly to avoid stripping).
- Photograph cable routing and note where the cable sheath stops.
- Install the new handle; verify smooth pull and full return.
2) Broken Release Cable
Most cables fail at the handle or latch end. Measure overall length, sheath length, and exposed wire. Choose the correct tip: S-tip or ball/oval end.
- Detach cable at the mechanism (note the latch hole/arm).
- Route the new cable the same way; avoid sharp bends.
- Reconnect and test—footrest should release fully, then lock.
If the cable is intact but motion is loose, replace linkage rods & clevis pins.
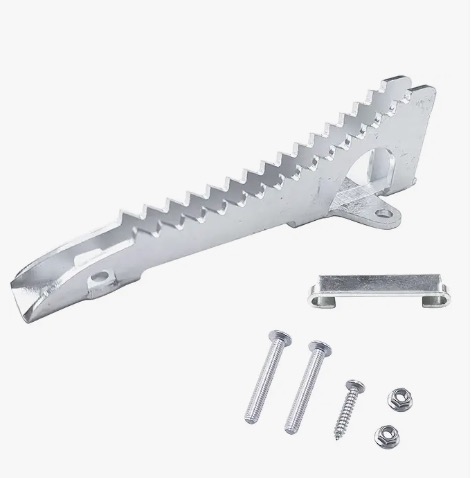
3) Footrest Won’t Lock / Slips Down
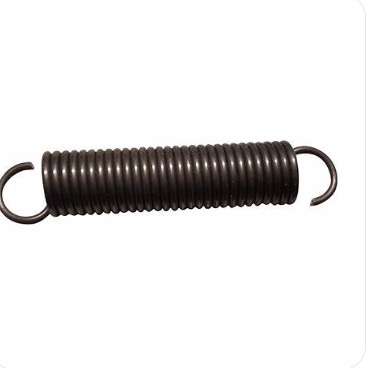
Inspect the pawl/ratchet gear for rounded teeth and check return/tension springs.
- Replace worn pawl/gear as a pair when possible.
- Install new springs; match hook type and length (count coils if needed).
- Lubricate pivots lightly; avoid overspray on upholstery.
Power Recliner Fixes (Motors, Remotes, Power)
1) No Power / Intermittent Power
- Confirm outlet/power strip. Test with a lamp.
- Check the 29V DC power supply (2-pin) and jumper cable to the motor.
- Inspect in-line safety/quick-disconnects. Reseat firmly.
- If you want cordless operation, add a recliner battery pack.
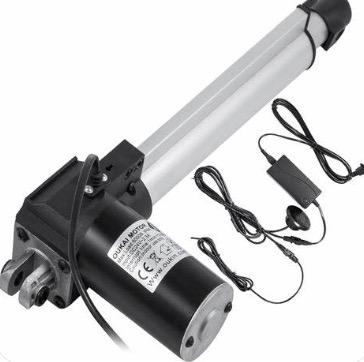
2) Motor Runs One Way / Stalls
Problems may be the remote/handset, wiring, or the linear actuator (Okin/Kaidi/Limoss).
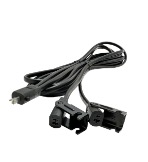
- Check remote cable (5-pin DIN or RJ-style). Try a known-good remote if possible.
- Find the actuator label; match model number, stroke length, and connectors when ordering.
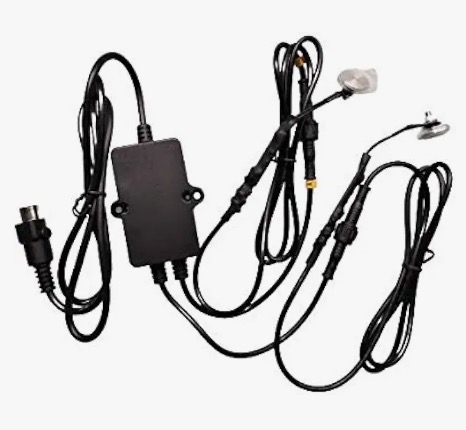
- If multiple motors are used, verify the control box and harnesses; Y-cables (splitters/extensions) must match plug shape.
3) Accessories Not Working
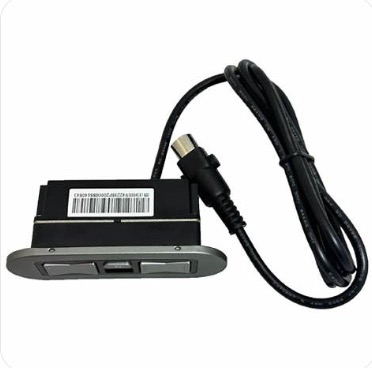
- USB ports: Replace the USB module (match cutout and harness).
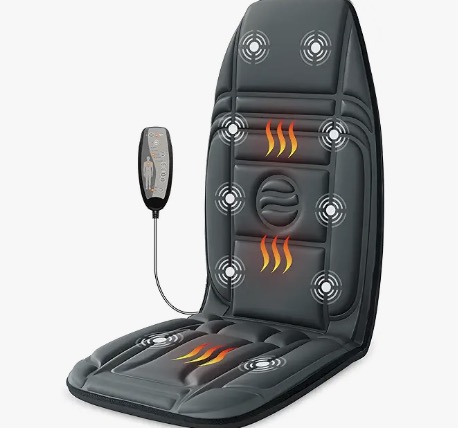
- Heat/Massage: Swap the heat & massage pad kit or controller as a set when feasible.
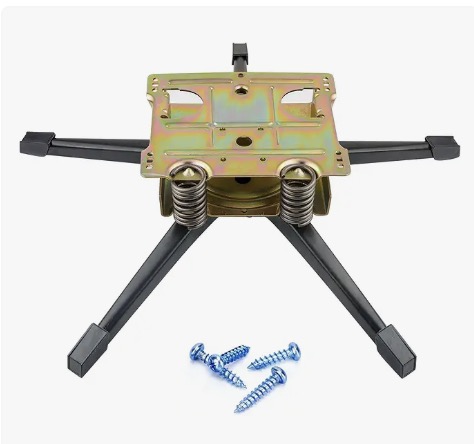
Swivel / Rocker / Glider Base Repairs
If the chair wobbles, binds, or makes scraping noises, inspect the motion base:
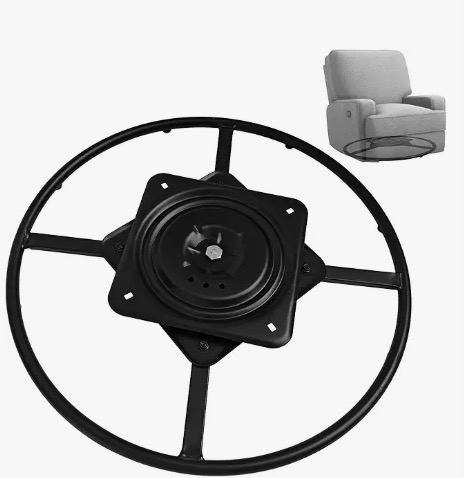
- Check the swivel plate (turntable) for bent arms or loose rivets; replacing the whole plate is often fastest.
- Verify the glider tracks/rocker base for cracks and worn rollers; replace as pairs if possible.
- For swivel rockers, match the ring base diameter and bolt pattern; tighten center post hardware.
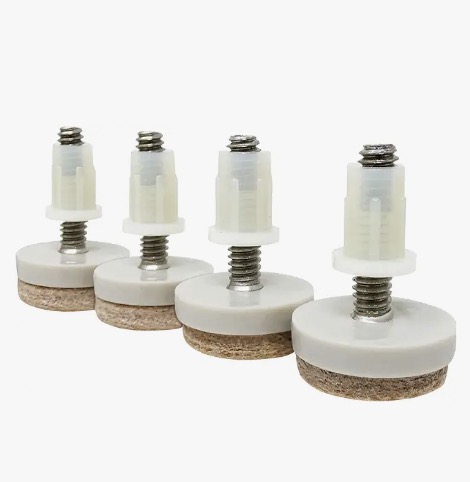
- Quiet squeaks with new nylon bushings/washers, and add felt sliders to protect floors.
Seat Support & Upholstery Refresh
A sagging seat or flat back cushion can be revived with a few core parts:
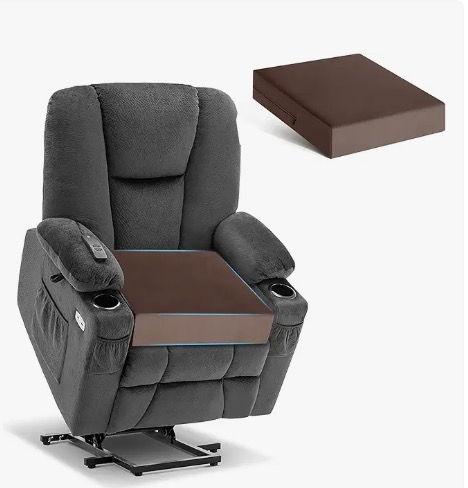
- Seat foam cushion cores (choose width × depth × thickness and firmness/ILD).
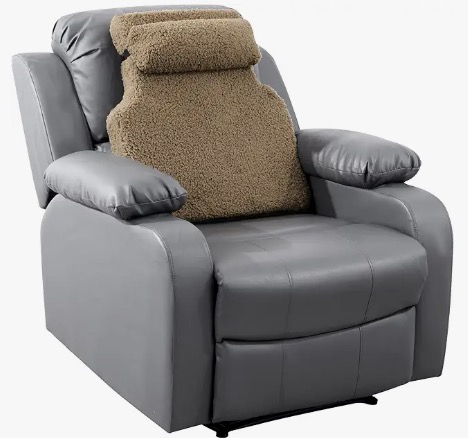
- Back cushion inserts (blown fiber or molded types).
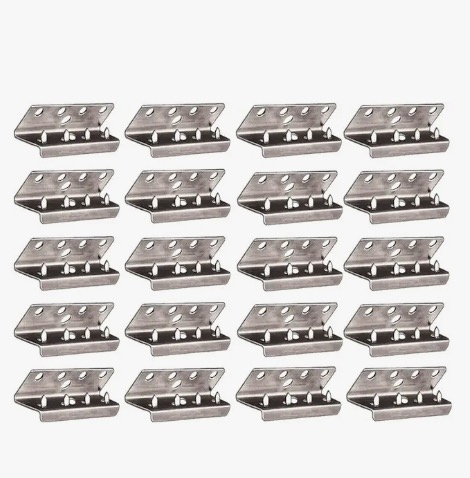
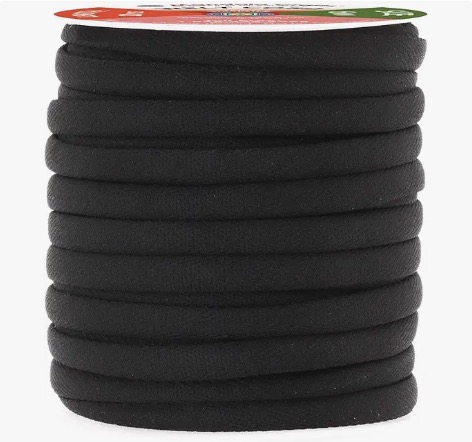
- Elastic/Pirelli webbing & clips to restore seat support.
- Sinuous (zig-zag) springs & clips for structural reinforcement.
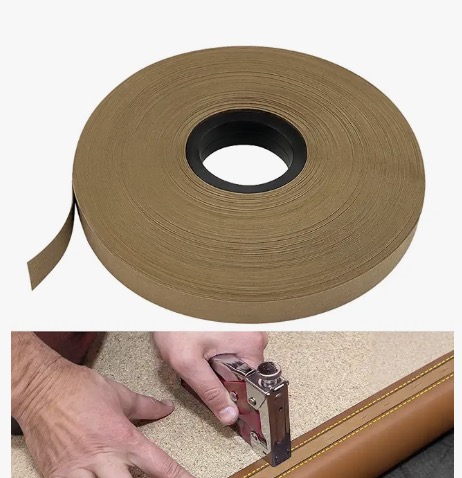
- Dacron wrap & cambric dust cover for a smooth, finished look.
Tip: When replacing foam, reuse the old piece as a template. Wrap edges with batting for softer transitions.
Cosmetic & Convenience Repairs
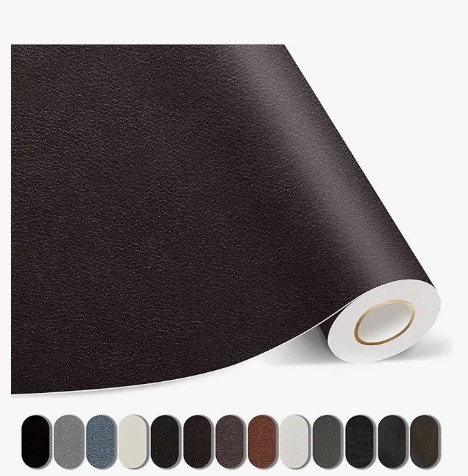
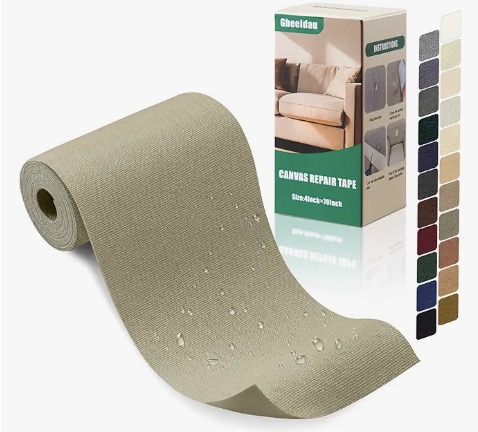
- Hide scuffs/tears with a leather/vinyl repair kit or fabric patch kit.
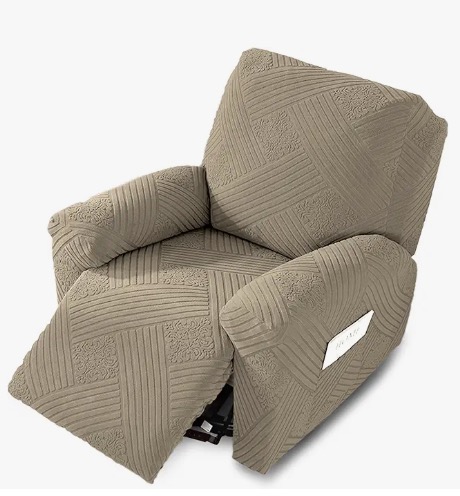
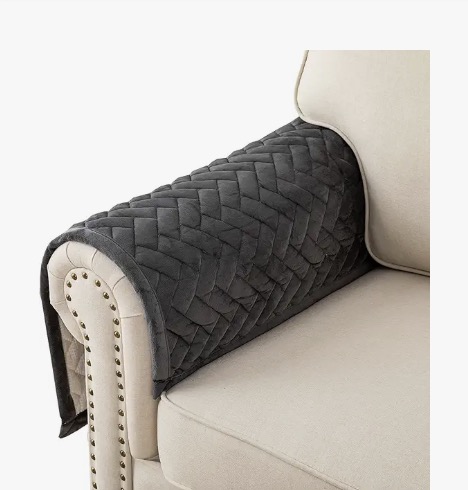
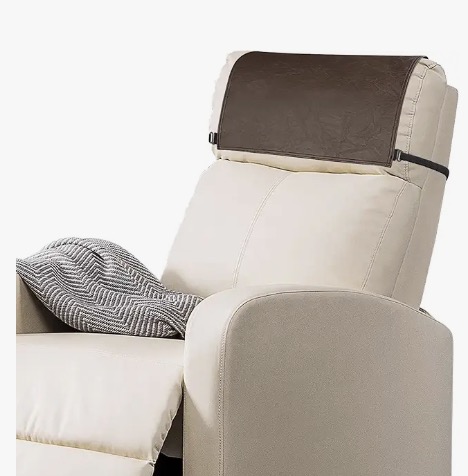
- Refresh the look using a stretch slipcover sized to your chair.
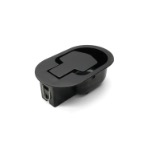
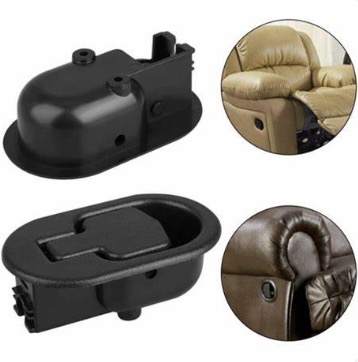
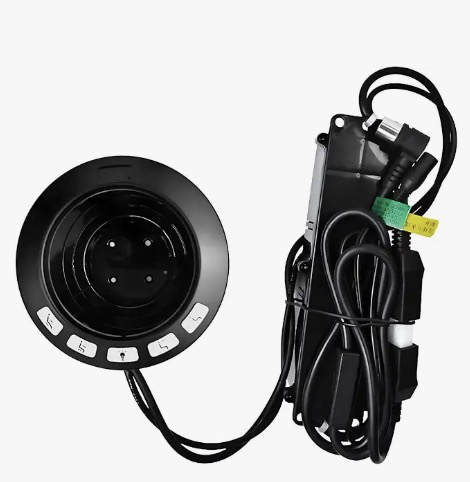
- Replace missing or sticky cup holders (match cutout diameter; LED units need power leads).
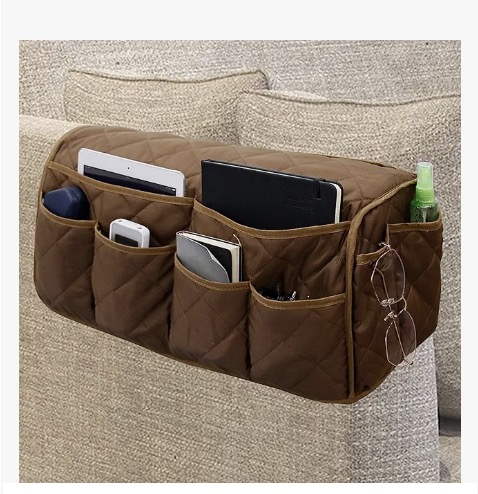
- Add storage with a side pocket organizer.
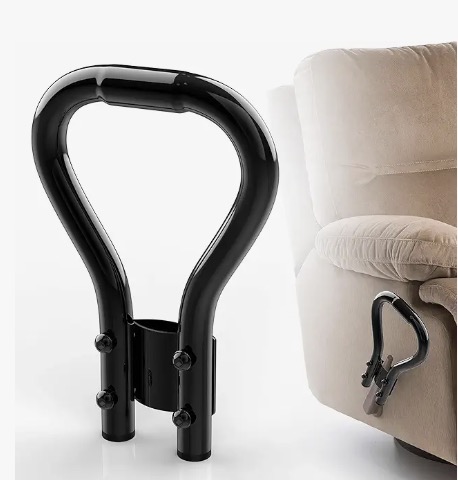
- Improve leverage with a handle extender—great for limited mobility.
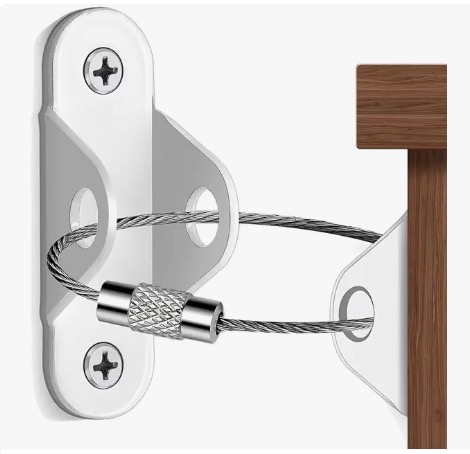
- Limit opening for kids/pets using a child-safety lock/strap or anti-tip bracket.
Fit & Clearance Tips (Avoid Future Damage)
Many failures come from crowding the chair. Standard recliners often need ~12″ behind the back to fully recline; zero-wall or wall-hugger types need less (≈2–6″). Leave side clearance for arms and walking space, and always check doorway/hall width for delivery.
Tools You’ll Use Again & Again
- Tape measure; Phillips/flat screwdrivers; socket set; hex keys; needle-nose pliers.
- E-clip tool or small flat driver; light machine oil; blue (medium) threadlocker.
- Optional: low-profile floor sliders (felt sliders) to move chairs without strain.
FAQ
How do I match a power actuator?
Photograph the label on the motor. Match brand (e.g., Okin/Kaidi/Limoss), model number, stroke length, connectors, and mounting clevis style. When unsure, search by model on power recliner actuator.
What if my remote doesn’t work?
Check if it’s a 5-pin DIN, RJ-style, or 2-pin. Inspect the cable for breaks. Try a compatible replacement remote. If none of the motors move, suspect the control box or power supply.
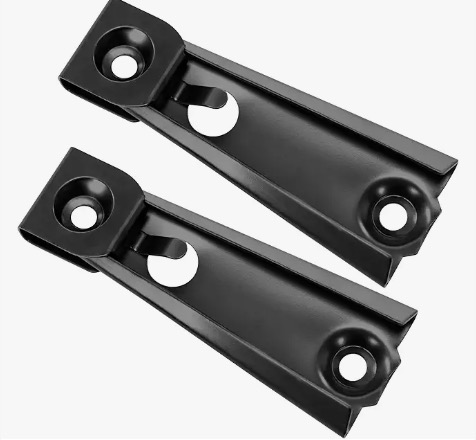
The back came loose—now it wobbles.
Many backs slide onto metal brackets and lock with spring clips. Replace worn back-locking brackets/clips and ensure the back is fully seated.
Seat still uncomfortable after foam swap?
Combine a new foam core with fresh webbing or springs, and wrap with Dacron/batting for softer edges.