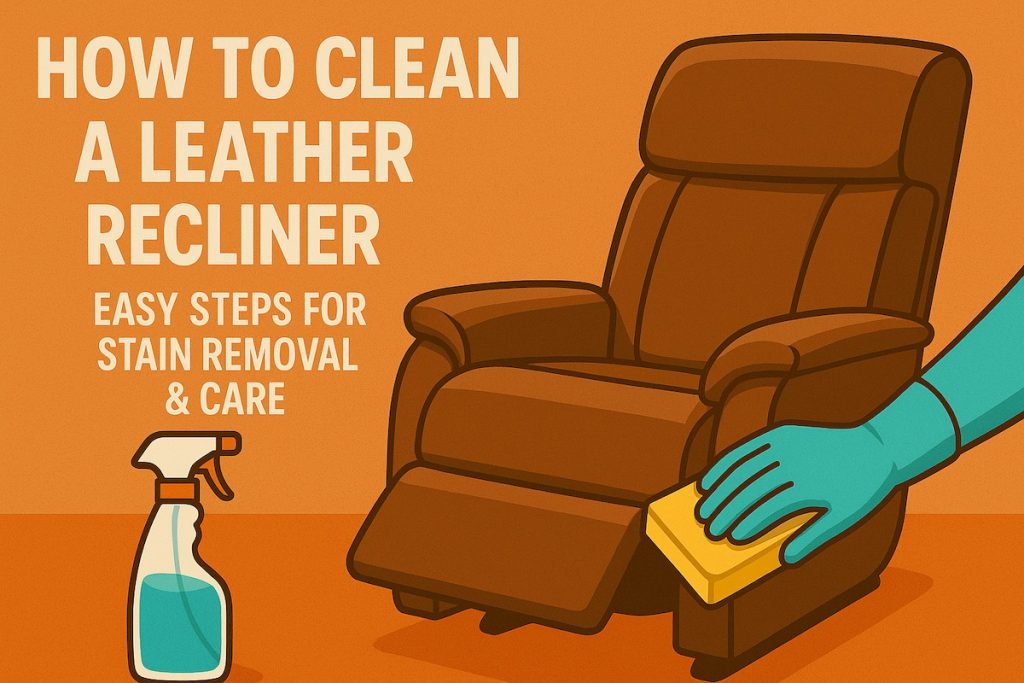
Leather recliners wear in beautifully—if you clean them correctly. This guide explains how to identify your leather type, assemble the right tools, remove common stains (ink, body oils, food, dye transfer), and condition/protect the surface so it resists damage and stays supple. All steps below are low-risk, “furniture-safe” methods (no harsh solvents), with quick links to supplies so you can get it done in one session.
Know Your Leather (Before You Clean)
- Protected/Pigmented leather (most common on recliners): Has a thin color/topcoat; more stain & fade resistant. Tolerates mild cleaners.
- Semi-aniline: Light surface finish; feels soft and natural. Use gentler products; avoid scrubbing.
- Aniline (uncoated): Luxuriously soft, highly absorbent. Spot-clean only; never soak. Consider pro service for big stains.
- Bonded/“blended” leather: Leather fibers with a polyurethane face. Treat like PU/vinyl—no heavy conditioners; use PU-safe cleaners.
- Faux leather/PU/vinyl: Use plastic/vinyl cleaners; skip waxy conditioners formulated for natural leather.
Tools & Supplies (Recommended)
- Microfiber cloths (6–10 pack; low lint)
- Soft-bristle detailing brush (for creases/stitching)
- pH-balanced leather cleaner (furniture-grade)
- Leather conditioner or balm/restorer (for scuffs/dryness)
- Leather protectant (stain/UV guard for protected/semi-aniline)
- Isopropyl alcohol (70–99%) + cotton swabs (for ink—spot-only)
- Melamine foam “eraser” (last resort on protected leather; very light pressure)
- Leather/vinyl repair kit (for small nicks after cleaning)
- Vacuum with soft brush (for dust/debris in seams)
Routine Cleaning: 10-Minute Method
- Vacuum seams, creases, and under cushions using the soft brush.
- Dust wipe: Lightly dampen a microfiber cloth with clean water. Wipe all panels (arms, seats, headrest, footrest) to remove loose grime.
- Clean: Spray a pH-balanced leather cleaner onto a cloth (never soak the chair). Work in small sections with gentle circular motion; use the soft brush for stitching.
- Dry: Buff immediately with a second dry cloth.
- Condition (natural leather only): Apply a light coat of conditioner. Let it absorb 10–20 minutes; buff to a soft sheen.
- Protect: For protected/semi-aniline, finish with a thin layer of leather protectant to resist dye transfer and spills.
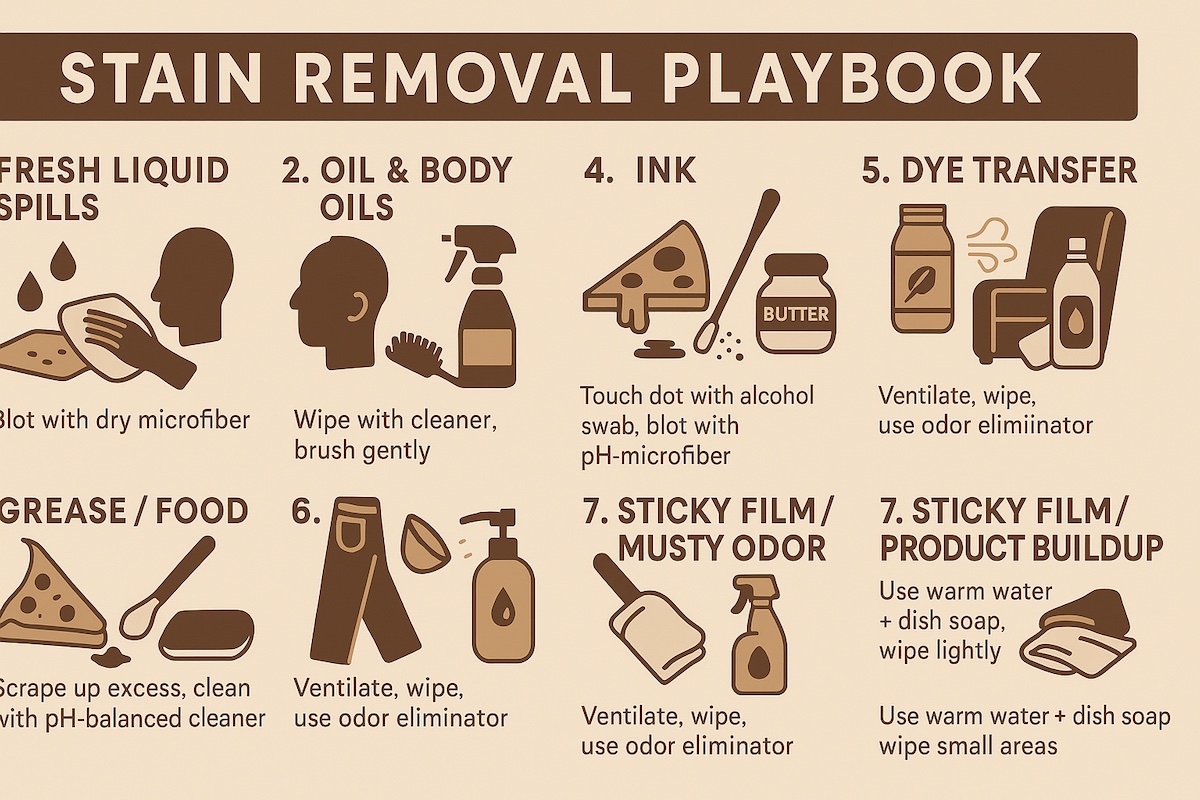
Stain Removal Playbook
1) Fresh Liquid Spills (water, soda, coffee)
- Blot immediately with a dry microfiber. Do not rub.
- If residue remains, lightly wipe with cleaner on a cloth. Dry and buff.
- For light water rings on protected leather, apply a pea-size conditioner to the ring and feather outward, then buff.
2) Oil & Body Oils (headrest/arm sheen)
- Wipe with cleaner on a microfiber; let sit 30–60 seconds.
- Gently agitate with the soft brush along grain; wipe dry.
- Repeat light cycles rather than one aggressive pass. Protect after cleaning.
3) Grease/Food (butter, pizza, lotion)
- Scrape excess with a plastic card (edge).
- Blot—don’t smear—then clean with a pH-balanced cleaner.
- If shadow remains on protected leather, a single very light pass with a melamine eraser (damp, almost no pressure) can lift it—re-protect area after.
4) Ink (ballpoint) — Spot Method
- Dip a cotton swab in 70–99% isopropyl alcohol.
- Touch the ink dot with the swab; quickly blot with a dry microfiber. Work from outside toward center. Do not flood.
- Stop when transfer slows. Clean, then apply a touch of conditioner/protectant. For aniline, consult a pro—alcohol can darken.
5) Dye Transfer (jeans, throws)
- Use a dedicated dye-transfer cleaner for protected leather; follow label.
- Wipe gently; multiple light passes. Re-apply protectant.
- For stubborn stains on semi-aniline, consider a color-matched balm/restorer.
6) Mildew/Musty Odor
- Move the chair to a dry, ventilated space; run a fan.
- Wipe the surface with cleaner; dry thoroughly.
- Lightly mist a cloth with a leather-safe odor eliminator and wipe; do not soak seams.
7) Sticky Film / Product Buildup
- Use warm distilled water + a drop of mild dish soap (on cloth), wipe small areas.
- Rinse with plain damp microfiber; dry and protect.
Deep-Clean & Recondition (Quarterly or When Grimy)
- Prep: Vacuum thoroughly; remove throws that transfer dyes.
- Clean in panels: Back → arms → seat → footrest. Apply cleaner to cloth (not directly on leather). Brush stitching lightly.
- Dry & buff after each panel to avoid tide marks.
- Condition (natural leather): Apply thin, even coat of conditioner. Let absorb; buff. Two light coats are better than one heavy one.
- Protect: Seal with leather protectant (especially high-touch zones: headrest, arms, seat front).

Weiman Leather Cleaner and Conditioner for Furniture - Cleans Conditions and Restores Leather Surfaces - UV Protectants Help Prevent Cracking or Fading of Leather Car Seats, Shoes, Purses
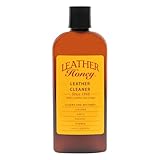
Leather Honey Leather Cleaner: Non-Toxic Leather Care Made in the USA Since 1968. Deep Cleans Leather, Faux & Vinyl - Couches, Car Seats, Purses, Tack, Shoes & Bags. Safe Any Colors & White Leather

EVEO Leather Cleaner Wipes 4-in-1 Leather Cleaner and Conditioner for Furniture - Leather Couch Cleaner, Car, Shoes & Purses – UV Protection, XL Moistened Wipes Restore & Protect – 3 Pack (90 Total)
Do / Don’t Cheat Sheet
- ✅ Use pH-balanced cleaner, microfiber, and gentle pressure.
- ✅ Blot immediately; clean in small sections; keep a dry cloth handy.
- ✅ Condition only natural leather; protect coated leathers after cleaning.
- ❌ Don’t spray liquid directly onto seams/perforations.
- ❌ Don’t use bleach, ammonia, vinegar, or strong degreasers—they dry and discolor.
- ❌ Don’t scrub with stiff brushes or colored rags that may transfer dye.
- ❌ Don’t use heavy, oily conditioners on bonded/PU leather (can cause swelling/peeling).
Care Schedule (At-a-Glance)
| Task | Frequency | Notes |
|---|---|---|
| Dust & quick wipe | Weekly | Microfiber + distilled water |
| Routine clean | Monthly (high use) | pH-balanced cleaner |
| Condition (natural leather) | Every 3–6 months | Thin coats; buff |
| Protectant (coated leather) | Every 2–3 months | Focus on headrest/arms/seat front |
Troubleshooting & Quick Fixes
- Light scuffs: Warm with your finger to re-amalgamate waxes, then buff. For color loss, use a matching color balm.
- Small nicks: Clean, dry, then use a leather repair kit per directions.
- Peeling (bonded/PU): This is coating failure, not dirt. Use a vinyl repair kit or consider slipcovers; regular leather conditioner won’t fix peeling.
- Sun fade: Relocate away from windows or apply UV protectant; use window film or shades.
FAQs
Can I use household wipes?
Avoid antibacterial/bleach wipes; they’re too alkaline and strip finishes. Use leather-specific wipes or a damp microfiber + pH-balanced cleaner.
Is saddle soap safe?
Generally not recommended for modern finished furniture; it can be too alkaline and leave residue. Use dedicated furniture leather cleaners.
How do I know if it’s real leather?
Check the product tag, look for natural grain/pores, and inspect the backside of a hidden flap (real leather shows suede). PU has a fabric backing and repeating grain.
My headrest is dark/greasy.
That’s body oil build-up. Use cleaner + brush in light cycles. Finish with protectant and wash hair products/skin creams before use when possible.
Which products are “safe bets” for most recliners?
A gentle furniture leather cleaner, a light conditioner (for natural leather), and a protector for coated leather, plus plenty of microfiber cloths.
Conclusion
If you identify your leather type first, use a pH-balanced cleaner with microfiber, and finish with the right conditioner or protector, a leather recliner is easy to keep clean and comfortable for years. Treat spills immediately, remove oils with gentle cycles, and rely on specialty products for ink and dye transfer. Build a simple routine—dust weekly, clean monthly, condition quarterly—and your chair will age gracefully instead of wearing out. When in doubt, test in a hidden spot and choose the least aggressive method that gets the job done. Ready to restock supplies? Grab fresh microfiber cloths, a proven leather cleaner, and a quality conditioner to keep that buttery feel.

ttmagic Metal Recliner Handle Replacement Parts with Cable, Universal Recliner Sofa Chair Couch Release Lever Pull Handle, Fits Ashley and Major Recliner Brands, Exposed Cable Length 4.9“
ttmagic Sofa Chair Recliner Release Pull Handle 3" by 3.5" Replacement Parts with Cable, Fits Ashley Lazy Boy and Most Recliner Brands Couch Sofa Chair Furniture, Exposed Cable Length 4.9"
ttmagic Universal Heavy-Duty Metal Sofa Chair Recliner Release Pull Handle Replacement Parts, Fits Ashley, Lazy Boy and Most Recliner Brands, 3.5"L x 3"W x 1.2"H Handle Size

Baridwon 2 Set Recliner Replacement Parts, Durable Recliner Release Pull Handle with Recliner Pull Cable, Repair Replacement Parts Compatible with Most Furniture of Recliner Chair Sofa Couch
Recliner Replacement Parts with Pull Handle and Release Cable (2-Sets), Repair Recliner Mechanism Parts Compatible with Most Furniture of Recliner Sofa Couch Chair