Looking for CANMOV recliner parts? Here’s a simple, no-fluff guide with real images and quick shop links. Match the connector, measurements, and model tag and you’ll have your chair back to chill-mode fast.
Buy CANMOV Recliner Parts Online
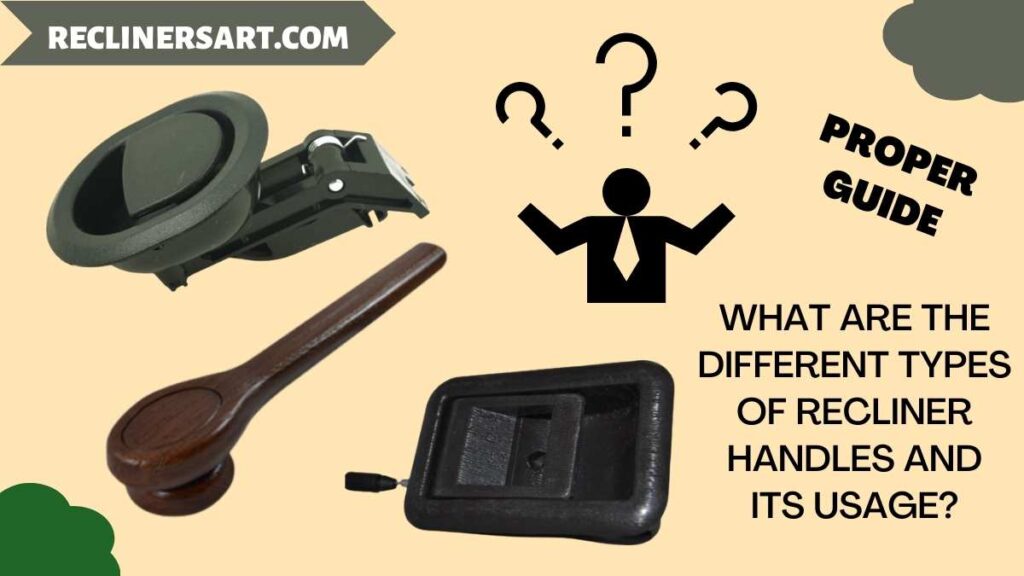
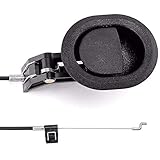
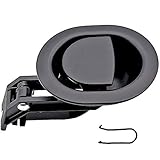
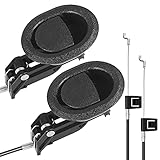
Side-mounted handle that triggers the footrest on manual chairs. Metal versions outlast plastic. Check shape and screw spacing to match your original. » find on amazon / find on ebay
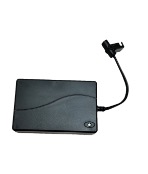
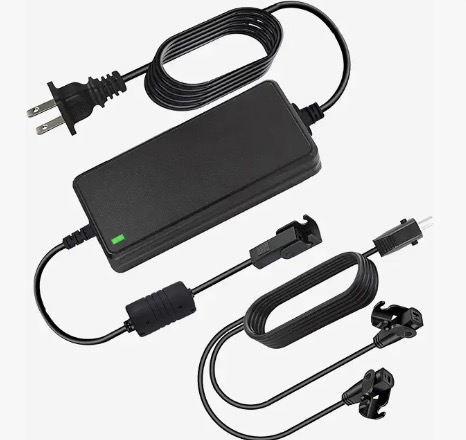
Standard 29V brick for power/lift models using the round/flat 2-pin OI connector. Match voltage and current rating to restore smooth motion. » find on amazon / find on ebay
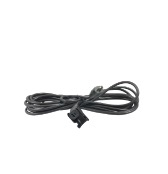
Extends distance between transformer and chair. Verify male/female ends, 2-pin OI profile, and length so the cable routes without pinch or strain. » find on amazon / find on ebay
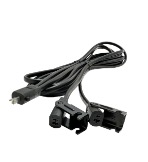
Powers two actuators/seats from one transformer. Confirm OI connectors and total current rating to avoid overheating or voltage drop. » find on amazon / find on ebay
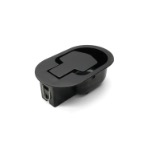
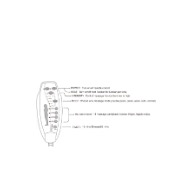
Oval control panel for raising/lowering footrest; many versions include USB charging. Match cutout size, connector, and button layout. » find on amazon / find on ebay
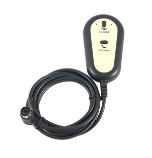
Replacement handset for lift/massage models. Ensure 5-pin DIN plug and matching button icons so all functions work. » find on amazon / find on ebay
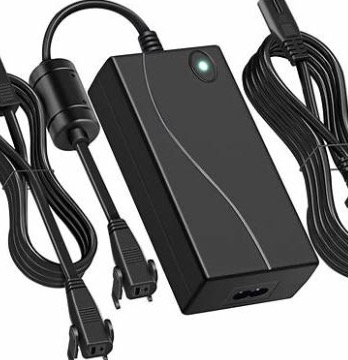
Wall-to-transformer AC lead and the transformer module. Replace frayed cords and elevate the brick to avoid spills or kicks. » find on amazon / find on ebay
Under-seat harness linking remote, motor, and power supply. Match plug shapes (2-pin OI, 5-pin DIN) and secure slack away from scissor arms. » find on amazon / find on ebay
How to Identify the Right CANMOV Recliner Parts
Flip the chair and photograph every label: transformer, actuator, side switch, and remote. Note model numbers, connector styles (2-pin OI, 5-pin DIN), and cable lengths. Measure handle screw spacing and panel cutouts. Compare photos to listings and your manual. If uncertain, message sellers with measurements and pictures for confirmation.
Basic Tools for Repairing CANMOV Recliners
- Phillips and flathead screwdrivers
- Allen/hex key set
- Metric/SAE sockets or nut drivers
- Needle-nose pliers and side cutters
- Adjustable wrench
- Multimeter (for powered chairs)
- Zip ties and electrical tape
- Silicone spray or white lithium grease
Unplug first. Support the footrest to remove spring tension. Take photos before disconnecting anything. Route cables away from moving linkages, secure slack with zip ties, and cycle the chair fully after the repair to recheck connectors and fasteners.
CANMOV Recliners Diagram
Exploded diagrams and wiring layouts are usually in the product manual. Check CANMOV’s official site for your model, and review assembly manuals that include parts callouts and wiring charts. Try this official manual PDF and brand site for reference: CANMOV Power/Lift Recliner Manual (PDF) and CANMOV Home.
Maintenance Tips to Prevent CANMOV Recliner Parts Failure
- Vacuum crumbs and dust from tracks and hinges monthly.
- Lightly lubricate pivot points every six months (avoid fabric/electrics).
- Use a surge protector on the 29V power supply.
- Keep cords off the floor and away from scissor mechanisms.
- Tighten loose bolts and brackets quarterly.
- Avoid hard “plop” seating; respect weight limits.
- Keep pets and kids clear during operation.
Conclusion
Match parts by connector, measurements, and model tags, then grab the exact replacement from Amazon or eBay. With a few basic tools and the manual diagrams above, most CANMOV fixes are quick wins—back to comfy lounging in no time.

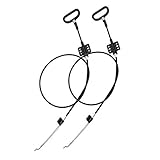
ttmagic Metal Recliner Handle Replacement Parts with Cable, Universal Recliner Sofa Chair Couch Release Lever Pull Handle, Fits Ashley and Major Recliner Brands, Exposed Cable Length 4.9“
ttmagic Sofa Chair Recliner Release Pull Handle 3" by 3.5" Replacement Parts with Cable, Fits Ashley Lazy Boy and Most Recliner Brands Couch Sofa Chair Furniture, Exposed Cable Length 4.9"
ttmagic Universal Heavy-Duty Metal Sofa Chair Recliner Release Pull Handle Replacement Parts, Fits Ashley, Lazy Boy and Most Recliner Brands, 3.5"L x 3"W x 1.2"H Handle Size

Baridwon 2 Set Recliner Replacement Parts, Durable Recliner Release Pull Handle with Recliner Pull Cable, Repair Replacement Parts Compatible with Most Furniture of Recliner Chair Sofa Couch
Recliner Replacement Parts with Pull Handle and Release Cable (2-Sets), Repair Recliner Mechanism Parts Compatible with Most Furniture of Recliner Sofa Couch Chair