Hunting down Palliser recliner parts? Here’s a friendly, no‑stress guide to the pieces that most often wear out—and exactly where to find them online. We’ll show you quick ways to match connectors and model numbers, a tiny toolkit that covers 95% of fixes, and easy maintenance habits to keep everything gliding like new.
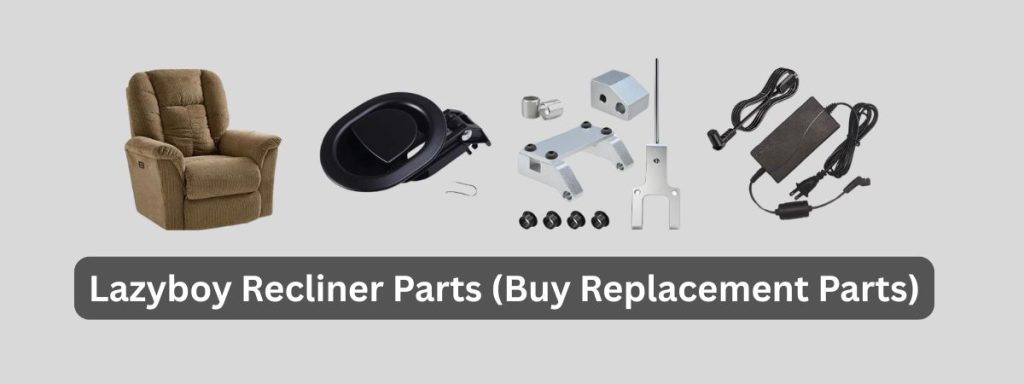
Buy Palliser Recliner Parts Online
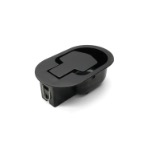
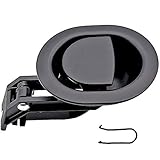
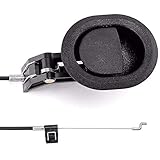
For manual recliners with a side pull. Measure exposed cable length and the end fitting (S‑hook, barrel, or D‑pull) to ensure a drop‑in swap. » find on amazon / find on ebay
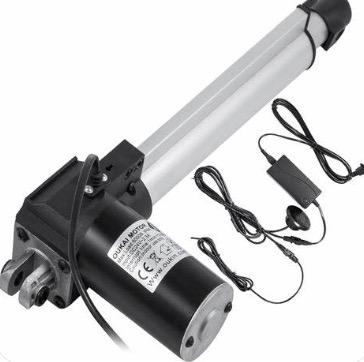
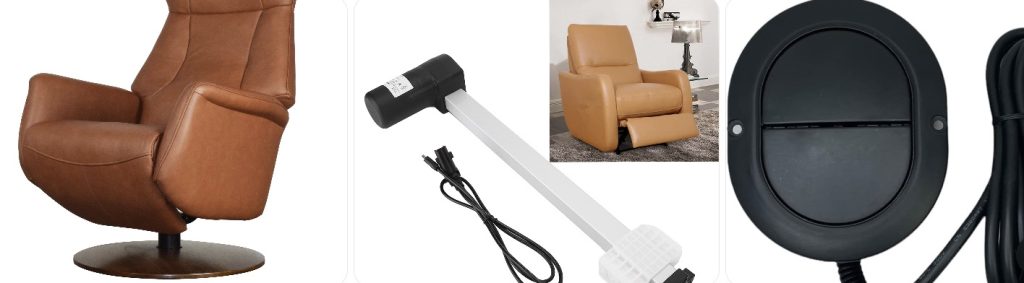
Power mechanisms typically use OKIN/Limoss/KD actuators. Match model numbers, stroke length, connector type, and mounting clevis size. » find on amazon / find on ebay
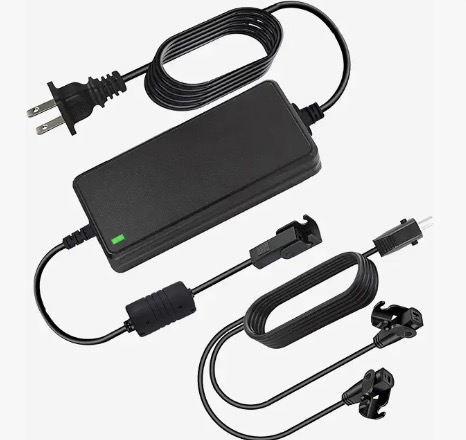
External 29V DC adapter with safety quick‑disconnect. Confirm voltage, amperage (2–3A typical), and two‑pin vs. five‑pin plugs before ordering. » find on amazon / find on ebay
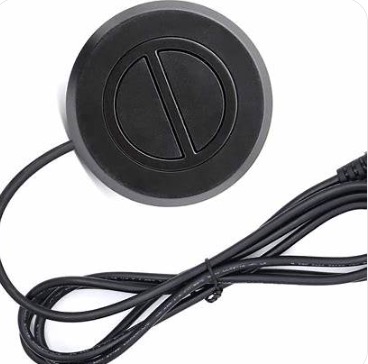
2–6 button remotes for power recline, headrest, and lumbar. Match pin count (often 5‑pin), plug orientation, and cutout/faceplate shape. » find on amazon / find on ebay
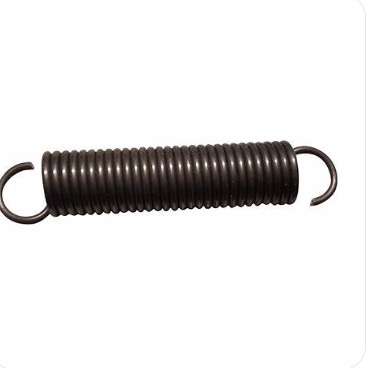
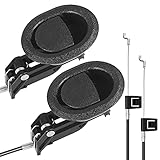
Refresh weak footrests with new torsion/extension springs and rivets. Replace both sides together for balanced action. » find on amazon / find on ebay
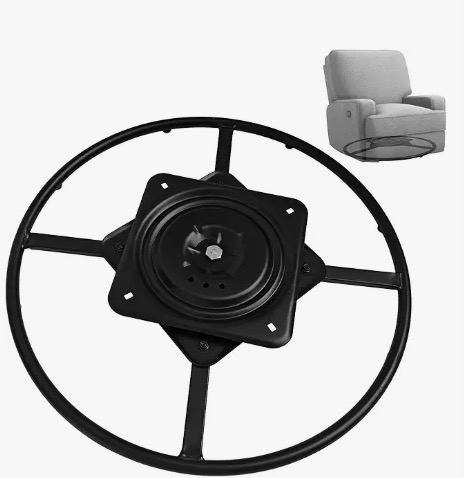
Fix grinding or wobble with replacement bearing rings or bushings. Verify diameter, bolt pattern, and stack height. » find on amazon / find on ebay
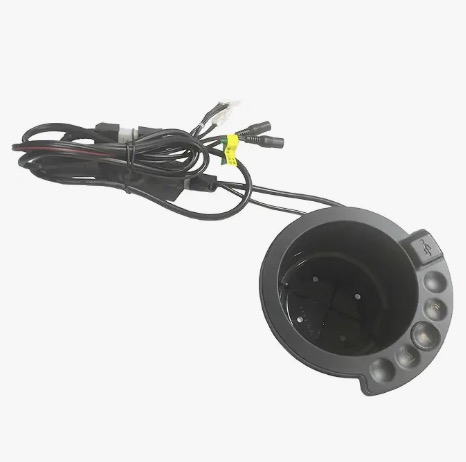
Drop‑in cup holders with USB charging and lighting. Confirm cutout size and harness type for plug‑and‑play installs. » find on amazon / find on ebay
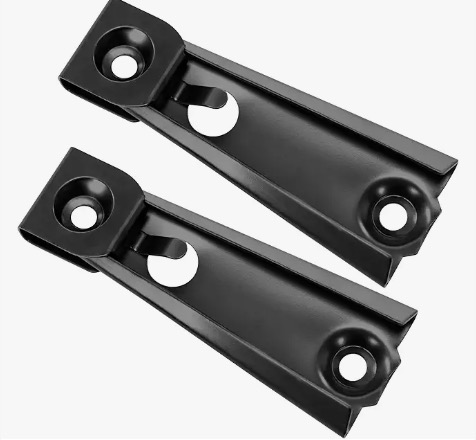
Replacement metal clips/receivers to lock motion seats and wedges together; prevents drift on hard floors. » find on amazon / find on ebay
How to Identify the Right Palliser Recliner Parts
Flip the chair and locate the product/serial tag on the frame or under the footrest. Photograph the failed part and all connectors. Note the actuator brand (OKIN/Limoss/KD), model numbers, plug style (two‑pin vs. five‑pin), and stroke length. Measure cables end‑to‑end. When in doubt, message the seller with photos for a compatibility check.
Basic Tools for Repairing Palliser Recliners
- Phillips/flat screwdrivers (short + long)
- Metric & SAE hex keys
- Socket set + adjustable wrench
- Needle‑nose pliers; snap‑ring pliers
- Multimeter for quick power tests
- Zip ties, electrical tape, blue threadlocker
Keep a flashlight or headlamp handy. Always unplug before working and label connectors with masking tape. Take photos as you go so reassembly is foolproof. For springs and heavy mechanisms, recruit a helper and protect floors with a towel or cardboard.
Palliser Recliners Diagram
For exploded views and specs, start with Palliser’s customer‑care resources and your retailer’s service department. Include your serial number when asking for model‑specific diagrams or parts lists: Palliser Customer Care.
Maintenance Tips to Prevent Palliser Recliner Parts Failure
- Vacuum dust/pet hair from the mechanism every 3–6 months.
- Inspect cables, springs, and bolts annually; replace in pairs when worn.
- Use a surge protector; keep the power brick off the floor.
- Wipe spills immediately; keep liquids away from switches/USBs.
- Lubricate pivots lightly with silicone spray—avoid grease on upholstery.
- Re‑torque wood screws gently to avoid stripping.
Conclusion
DIY’ing a Palliser fix is totally doable. Match part numbers and connectors, grab a few basic tools, and order from reputable sellers. With smart maintenance and the right replacement, your recliner will be back to smooth, quiet lounging in no time.
Baridwon Recliner Replacement Parts with Pull Handle and Release Cable (2-Sets), Repair Recliner Mechanism Parts Compatible with Most Furniture of Recliner Sofa Couch Chair
ttmagic Universal Heavy-Duty Metal Sofa Chair Recliner Release Pull Handle Replacement Parts, Fits Ashley, Lazy Boy and Most Recliner Brands, 3.5"L x 3"W x 1.2"H Handle Size

Baridwon 2 Set Recliner Replacement Parts, Durable Recliner Release Pull Handle with Recliner Pull Cable, Repair Replacement Parts Compatible with Most Furniture of Recliner Chair Sofa Couch

Baridwon 2 Sets Recliner Replacement Parts - Metal Recliner Handle, Release Pull Cable Fits Ashley & Most Recliner Sofas, Exposed Cable Length 5.1 Inches
ttmagic Sofa Chair Recliner Release Pull Handle 3" by 3.5" Replacement Parts with Cable, Fits Ashley Lazy Boy and Most Recliner Brands Couch Sofa Chair Furniture, Exposed Cable Length 4.9"